About Me

Started up the Blog as a 2 year anniversary from the day I started sculpting back in Nov 2009. I started sculpting because of a request from a friend after seeing a few of my custom made figures. I haven’t turned back since. It has somewhat turned into an obsession for me. I love sculpting…it’s as simple and pure as that! I’ve mostly dealt with and am very comfortable sculpting with Aves Apoxie, Super Sculpey, Sculpey Firm, and now Wax. I’ll be posting a lot of Work in Progress shots of projects that I am working on currently. I’m aiming to try and post pictures up every Sunday night. I also do commissions. Please feel free to email me at JetFire1976@Gmail.com with any inquiries or questions. I only focus on 1 commission at a time. Thank you all for following~

Sunday, February 5, 2012

Hugh Jackman - Wolverine

Okay... so here is an extra post that I decided to throw in. This was done quite a bit back. It was a commissioned piece of just the portrait. It was my actual first portrait but it was extremely fun and I probably learned the most from this sculpt.
This took me about a month to do. Spent an average of 3 hours per day on this thing. I felt I did a good job on the portrait. This was my first sculpt where I took dozens and dozens of pictures to use as reference. I even took screen stills of DVD's which I felt were the most helpful... just cuz I was able to capture certain poses and expressions that I felt would be necessary for this sculpt. It was really a fun process... and a process that I try to do now in all my sculpts now.
I was given a resin copy of a head from an existing statue which I molded and casted in wax. I then went to work from there.
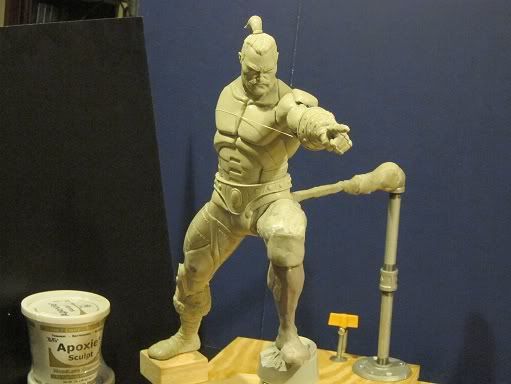
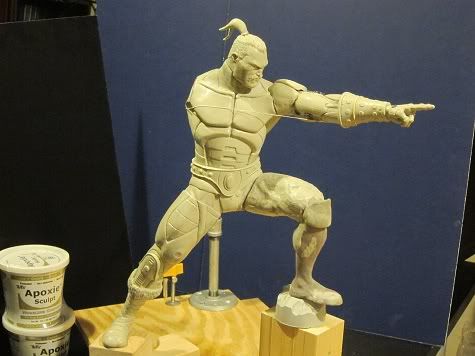
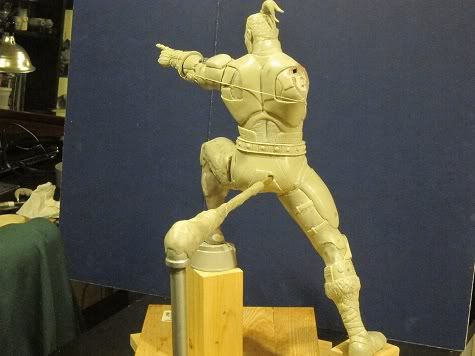
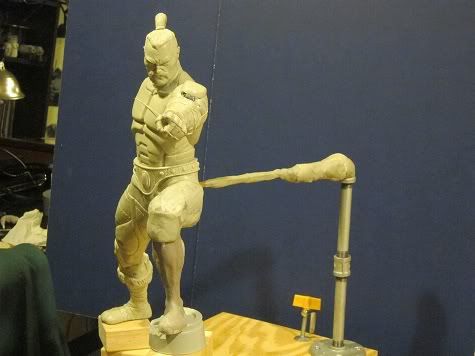
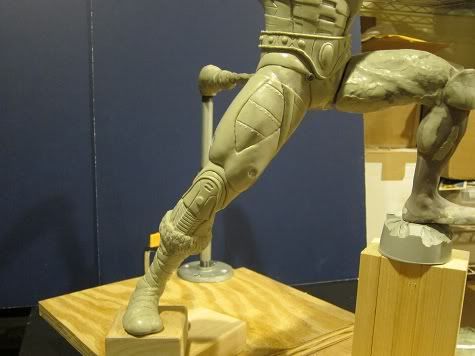
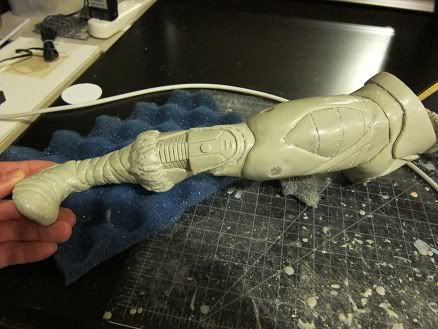
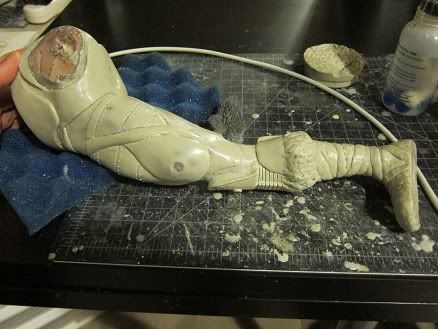
Here are some Work in progress shots. Sorry if the pic gets cut off... I don't know how to expand the pic.
Just added some clay after a working a bit further on to see what he would look like with hair:
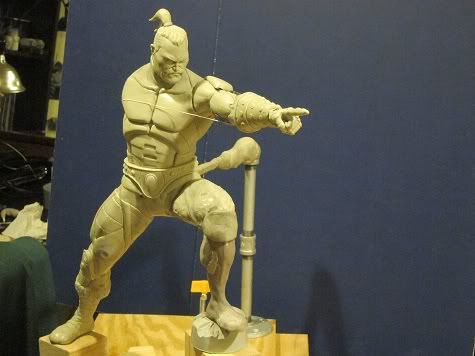
Much further along:
Once I felt that I got a good final portrait of Hugh... I made a mold and casted him in resin and started work on the hair.
I did this based on Andy Bergholtz tutorial. I had never really sculpted hair in wax... and this was the first time so I just tried to follow what he did. The hair was tough as well and took a bit of time to do. After becoming more familiar with wax... and hair (a great tutorial was posted by Andy and his process in sculpting hair - Go check it out!!) I am going to rework that hair!
Here are the final pics:
Hope everyone enjoyed!
Thanks!

Man At Arms - Left Leg Part 5

Hey all!
Sorry for being a little MIA... it has been a rough start to the new year but slowly figuring things out. I also had a couple of things going on as well so I haven't been able to provide updates.
But I did manage to post some updates on this leg. It's not completely done yet... but majority of it is finished. The parts that are not done are the ones where there is another part that it's connected to. I have to ensure that everything fits properly so I don't want to finalize anything yet.
The time consuming aspect of this body part was believe it or not... was the boot. The fur as well as the straps that surround the boot took a long long time. The belt was extremely fun to do. I probably should have used Styrene strips to wrap around the belt... but instead I used wax...which took a quite a bit longer.
But this is it. It's the combination of the parts that I have almost completely finished. I'm moving on to the other missing arm and hand next. I just want to start on the chest armor already! : )
Enjoy~

Sunday, December 18, 2011

Man At Arms - Left Leg part 4


It's late... and everybody is sound asleep. : ) It's almost Christmas time folks! Sorry.. had to throw that in there.
It's update time!! Been working pretty hard on this leg ... sorry its been a bit slow... have a couple of things going on and this leg is pretty darn big. I did some cleaning up around the belt area....so I can start putting in the furry underwear area. This piece will most likely be removable.
Another area that was worked on was the knee. In my prior post, you'll notice that the knee pad is flat. I thought it looked a little off... and when I went back to look at the figure, I noticed that the knee pad kind of wrapped around the knee. So I made that adjstment. You'll also see some more detailing below the knee pad as well.
Majority of my time was spent on the boot. From what I gather, the boot is a puffy furry boot that is wrapped around in straps or bandages. So the straps will look tighter making the puffy boot stick out between the straps. Overall, it was pretty fun. It's still rough but I will clean it up more as I go.
Here are some Work in progress pics:
That's it! See you folks next Sunday~ Or not. If not, Merry Christmas!! Enjoy this beautiful holiday!
Thanks all~

Past Works - Batman Version 2 of 3

Hey all~
Sorry for my lack of updates on my past work. Things have been picking up so I've been scrounging for some time.
Let's begin~ So last we left off, my 1st version of the Batman was taken apart and a new one began. I had a specific reference art that I was using at the time. I enlarged the reference pic as well as using some reference pic of Batman by Jim lee and went from there. I measured out my armature using the pics. I also re-did the head as well. After seeing K-Dawgs awesome work of his faces...especially the one for the Wreckers and to see how awesome those turned out, I wanted to try my hand at using a bit more details in the face.
Here are some Work in Progress pics:
Not much to say on this sculpt. Learned a little bit more about anatomy and so forth... but most importantly... actually the lesson I learned from this sculpt was looking at the sculpt from afar! I never really stepped back to see how everything looked. So... when I did step back, this is what I noticed:
His shoulders were so far apart from each other! His shoulders looked way too broad... and that point.. I was super pissed! I thought I was moving along quite well... and it seemed as though the way I wanted him portrayed was going well.
Here is a little glimpse of the fixing that was involved:
After looking at my anatomy books, I noticed that the shoulders came in a bit closer. So I made the adjustments and the final version came out to looking like this:
Not really much too say other than what I've said in my previous posts about my past works. Just thought I was doing well in sculpting... but as I learned more... my past works didn't seem too appealing as I found there were plenty of errors.
Anyhow, after this was baked, I casted him in wax, and that will be the 3rd and final version of Bats. Hope you all enjoyed!
Stay tuned tonight for my Man At Arms. Thanks all~

Sunday, December 11, 2011

Man at Arms - Left Leg Part 3

Hey all,
Sorry for the lack of updates of my past works. Been a bit busy this week with a couple of things going on... MAA being one of them.
Here's a small update. Alot of the work went into smoothing out the surface. But as you will notice, the knee armor, belt behind the legs and the rivets have been almost completed as well as a few other sublte details. I'm still trying to work out how the knee armor will interact with the armor below the knee to the boots.
Here are some pics:
That's it for this week. I will try and post 1 or 2 more past works by Wednesday... so stay tuned!
And as always, more updates on MAA's left leg next Sunday night!
Please feel free to leave any comments or crits! Thanks all~

Sunday, December 4, 2011

Man At Arms - Left Leg Part 2

Hey everyone,
Just a quick update on the left leg. Been filling areas in wax above the boots and trying to figure out how I was going to lay out the armor. Finally... the armor started making sense and have slowly gone into some detailing. Here are some shots:
Wasn't sure if I should have connected the two muscles above the knees. On the figure, the armor is just a straight line across and it looked a little funny to me. I then decided to connect it but contour it around the muscles and thought it came it out good!
I'm still trying to sort out the knee pad armor... whether I want to have it as part of the leg or to create it as its own separate part.
Here are some detailing....
That's about it for this week. I'm moving on too more detailing of the armor and hopefully will start on the boot area and the torso fur....that might be a bit much.. but we'll see.
The test fit with the upper torso will be in the final update when the leg is completely done. So far... I'm pretty happy with the way it's turning out~
Thanks all for looking~ I'll post some more of my past works this week as well.. so check back... if not check back next Sunday for another update on my Master At Arms!